How Drills Work in Shovel It
Placeable AFK diggers that clear snow and items while you run quests or step away.
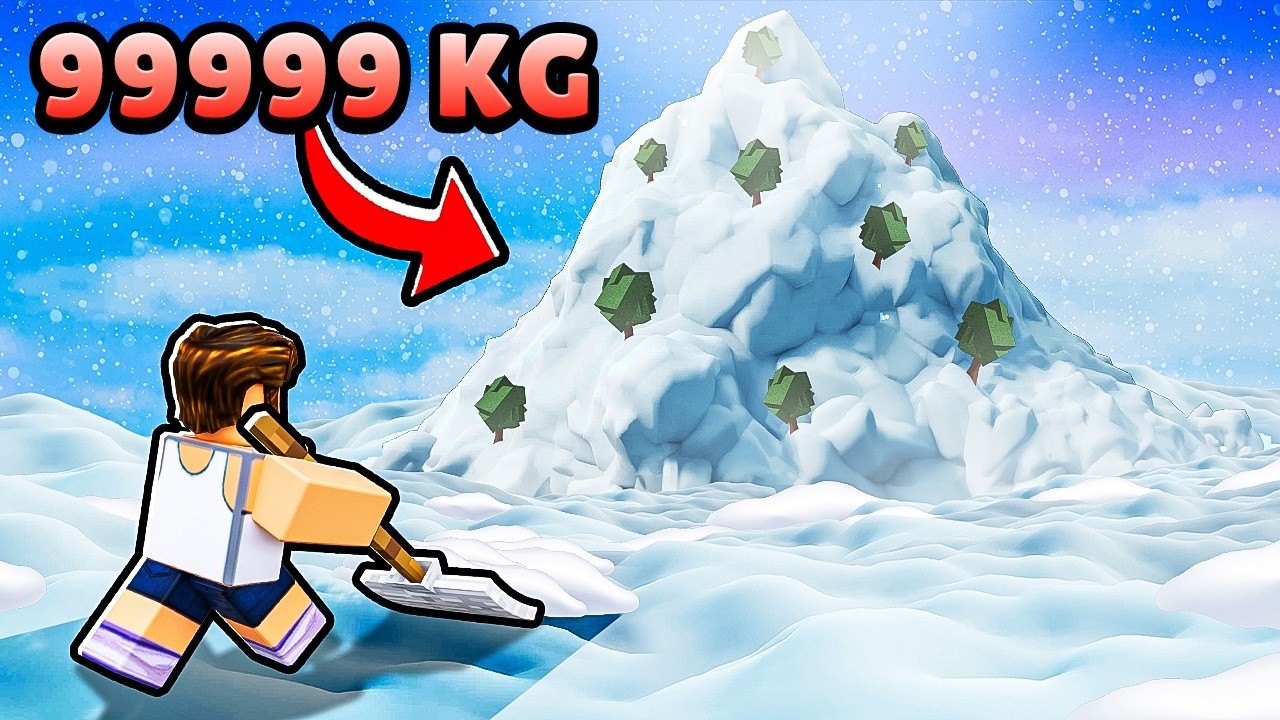
Drills are one of the highest soft advantages in Roblox Shovel It. Once you can buy and place one, the map keeps digging for you while you hunt ladders, turn in NPC quests, redeem codes, or briefly go AFK. This guide covers what drills do, how to buy and place them, how claiming works, where to park them, and how to stack temporary luck or power codes so every idle minute pays more.
If you are still learning the sell loop and first shovel upgrade, finish Getting Started first. Blessings and vehicles that pair with drill sessions are covered in Blessings and Vehicles. Tool priorities that decide whether a drill patch is worth your coins live on the Shovels Tier List. Live promo strings sit on Codes.
What drills actually do
A drill is a placeable dig helper. You purchase it from the shop when it is unlocked and affordable, plant it on productive snow, then let it work. Community coverage and creator videos consistently describe drills as tools that clear snow and can uncover items without you standing there clicking every tile. That makes them perfect for volume goals—road snow for Lumber, construction quotas for Tired Tim, sidewalk sweeps for Scarp and Grandma—while your character is somewhere else on the map.
Think of drills as a second pair of hands, not a replacement for a strong shovel. Your equipped shovel still decides how good hand digs feel. Relics, blessings, weather, and codes still decide how lucky those digs are. The drill simply adds more rolls per minute while you multitask.
Buy, place, and claim
The practical loop looks like this:
- Save coins after selling junk (never sell active quest items).
- Buy a drill when the shop offers one you can afford without freezing shovel upgrades.
- Place it on dense, valuable snow—sidewalk and road near spawn for early accounts, construction or ice later when your kit can handle them.
- Leave it running while you quest, shop, or AFK briefly.
- Claim / collect the dig results according to the live UI so inventory and coins update.
Exact button labels can shift after patches, but the fantasy stays the same: plant, leave, claim. If a claim step exists in your build, visit the drill before a long logout so you do not leave value sitting unclaimed. If you can reposition freely, move the drill when weather flips toward Rain, Thunder, or night Starfall so passive digs hit better mutation windows.
Why drills shine while questing elsewhere
Quest routes in Shovel It often force travel. Tired Tim wants ladders on roofs and map edges. The Farmer line eventually asks you to dig under a black and red sky orb. Secret Agent access needs crane climbing after Scarp and Tim gates. During all of that walking, a parked drill keeps sidewalk or road snow ticking down. Pair this guide with the full Quests Walkthrough and the dedicated Lost Shovel page when Farmer is your bottleneck.
A clean session plan:
- Place the drill on the snow type your active volume quest needs most.
- Walk the quest route with inventory discipline.
- Return, claim, sell trash, reinvest.
- Reposition if the quest snow type changes.
That pattern turns quest nights into dual progress: story plus economy.
Stack drills with luck and power codes
Codes are fuel for idle setups. Temporary 2x Luck windows make every drill tick more likely to feel rewarding. Temporary 2x Power or strength timers help clear tougher layers faster when the drill and your shovel share a busy map. Coin dumps fund the next drill or shovel tier so you are not stuck on a single weak placer forever.
Best practice:
- Join the A Snow Game group and redeem live strings from Codes before a long AFK or quest loop.
- Place or reposition drills immediately after redeeming so the timer is not wasted in menus.
- Prefer luck timers during Rain, Thunder, polluted vehicle snow, or Starfall nights.
- Prefer power timers when you need construction or ice volume cleared in a hurry.
Never buy “private code lists.” Official and community-verified strings are enough when you redeem on a schedule.
Where to place drills (priority list)
Early game. Sidewalk and road snow near shops. You need coins, Scarp progress, and short walk-backs to claim.
Mid game. Construction patches while ladder hunting for Tired Tim, or road patches while grinding Lumber toward the Lumber Shovel.
Late windows. Ice when chasing rare ice finds, or any high-density field during Starfall after you prepared luck relics and blessings. See Starfall Event and Mutations and Weather for night and weather timing.
Avoid parking drills on empty, already-cleared ground. Move them when a patch is finished. Treat placement like farming plots, not permanent monuments.
Drills versus vehicles versus hand digging
- Hand digging gives precise control and is best for orb footprints, quest item scouting, and finishing awkward corners.
- Vehicles clear wide areas and can pollute snow for mutation routes; details live in Blessings and Vehicles and the Toxic Update notes.
- Drills are the AFK and multitask layer. They do not replace a luck shovel or a pollution vehicle—they multiply time.
Spend order for most accounts: shovel upgrades and a luck blessing first, then a drill when AFK value is affordable, then utility vehicles once dig stats feel respectable. Confirm big shovel purchases against the Shovels Tier List.
Common drill mistakes
Buying a drill before a usable shovel. Idle digs on a terrible kit still feel slow. Fix power and luck first.
Ignoring claim cadence. If the UI expects you to claim, long absences without a pickup leave progress stranded.
Leaving drills on dead snow. Finished patches earn nothing. Reposition after clears.
AFKing through a luck code in the lobby. Redeem, place, then leave the character near productive snow.
Selling quest loot that drills uncovered. Drills can dig items you still need for NPCs. Quarantine ladders, Grandma belongings, Farmer pieces, and named turn-ins before bulk selling.
Session checklist
- Redeem active codes from Codes.
- Confirm shovel and blessing are not embarrassing for your stage (Getting Started and Shovels Tier List).
- Place drill on the snow type your current quest or coin goal needs.
- Leave to quest, ladder hunt, or briefly AFK.
- Claim, sell junk only, protect quest items, reposition if weather or goals changed.
- Optional: add vehicle pollution loops from Blessings and Vehicles when you want mutation variety on the same session.
How this guide fits the wiki
Drills sit between beginner onboarding and late mutation farming. Use this page whenever someone asks how to AFK dig in Shovel It, how to place drills, or how to progress quests without stopping the economy. Cross-link back to the Guides Hub when you need the full tutorial map, and re-check shops after patches on the Updates Hub in case drill pricing or claim UI shifts.
Master buy-place-claim, park drills on the right snow, and stack them with luck or power codes. That is the entire soft meta: your character quests, your drill prints progress, and the snow map pays twice.
Frequently Asked Questions
Quick answers to the most common questions.
What do drills do in Shovel It?
Drills are placeable helpers that dig snow and can uncover items while you quest elsewhere or go briefly AFK. Place them on productive snow, then claim results according to the live UI.
When should I buy my first drill?
After you have a respectable shovel upgrade and at least one useful luck or power blessing. Drills amplify time; they do not fix a weak dig kit by themselves.
Should I stack codes with drills?
Yes. Redeem live luck or power codes from the Codes hub, then place or reposition drills immediately so the timer is not wasted in menus.
Where should I place drills while questing?
Park them on the snow type your active volume quest needs—sidewalk or road early, construction for Tired Tim, road for Lumber—then walk the quest route and claim on return.
Can drills dig quest items I might accidentally sell?
Yes. Always quarantine ladders, Grandma items, Farmer objectives, and other named turn-ins before bulk selling drill loot.