How to Play Shovel It
Controls, interface, economy loop, and every major snow type explained.
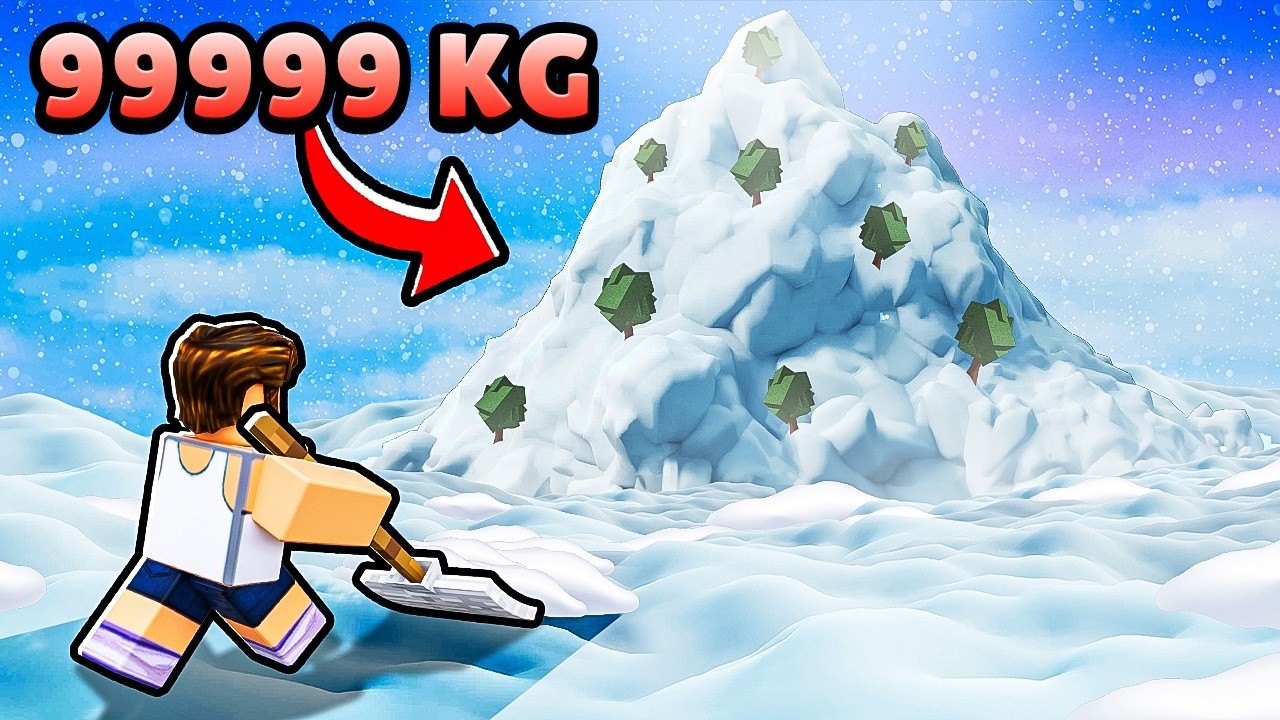
This How to Play guide explains the day-to-day systems of Shovel It! on Roblox: how digging works, what the UI is asking you to manage, how selling funds upgrades, what shops offer, and how sidewalk, road, construction, and ice snow differ. Read it after Getting Started if you already redeemed codes, or use it as a standalone primer before diving into Mutations and Weather and Quests.
Shovel It is inspired by fishing-style collection games and classic snow-shoveling simulators. The fantasy is straightforward—clear snow, uncover items, grow stronger—but the map layers weather, mutations, relics, vehicles, and drills on top of that loop. Understanding the basics keeps those advanced systems from feeling random.
Controls and camera basics
Movement uses standard Roblox character controls. Digging is click-to-shovel: aim at a snow tile or pile and click (or tap on mobile) to clear it. Hold a comfortable camera angle so you can see tile edges and nearby NPCs. You do not need complex combos; mastery comes from where you dig and when, not from input skill.
Useful habits:
- Face dense snow patches so each click lands cleanly.
- Strafe along sidewalks and roads instead of spinning in place.
- Jump onto roofs or ledges when hunting Tired Tim ladders or odd item spawns.
- Re-center the camera after using vehicles so you do not miss ground mutations.
If a click does nothing, you may be out of range, on cleared ground, or facing a snow type your current shovel struggles with. Upgrade power or move to softer snow until the dig registers.
UI: inventory, settings, and shops
The top-left cogwheel opens Settings—this is also where you redeem codes after joining A Snow Game. Inventory shows items pulled from snow; watch capacity so you are not blocked mid-farm. Quest trackers and NPC talk prompts appear when you are near characters such as Scarp, Tired Tim, Lumber contacts, the Farmer, or Grandma.
Shop UIs generally split into:
- Shovels — power, speed, luck, and special dig traits
- Blessings — passive multipliers and quality-of-life dig bonuses
- Vehicles — mobility, dig assistance, and Polluted snow chances
- Drills — placeable AFK dig tools
- Relic rolls — Broken Relics later mid-game, Lost Relics in the deep endgame
Learn which button sells items versus which button opens a shop. Selling is your income faucet; shops are your sinks. A healthy session alternates short dig bursts with sell trips so coins never sit idle while a better shovel is on the shelf.
Selling without sabotaging quests
Sell common clutter often. Keep anything an NPC requested. Community pain is real here: players accidentally sell ladders or Grandma items and stall for a long time. When an objective mentions a named object, park extras in inventory and only liquidate obvious trash. If you are unsure, finish the related step in the Quests Walkthrough before mass-selling.
Coins from sales buy the next shovel tier, blessings, drills, and eventually relic spins. Temporary code buffs multiply the value of each sell cycle, so dig aggressively while 2x windows are active.
Shops progression in plain language
Early shops exist to fix weak starter stats. Buy shovel upgrades that raise clear speed and item odds before cosmetics. Add a blessing that boosts luck or power. Mid session, add a drill so the map works while you quest. Vehicles come online when you want faster coverage across sidewalk, road, and construction zones—and when you intentionally want Polluted snow for mutation farming.
Late shops and economy breakpoints revolve around relics: Broken Relics around the ~500K coin tier and Lost Relics around the ~500M tier. Those rolls change luck, walk speed, jump, shoveling power, weather boosts, and mutation chances. Pair shop planning with Mutations and Weather so you buy relics that match the events you actually farm.
Drills: AFK dig the smart way
Drills are placeable. Drop them on snow you care about, then leave them running while you gather ladders, turn in Scarp steps, or step away briefly. Reposition when weather flips to Rain, Thunder, or night Starfall so AFK digs catch mutation-friendly tiles. Drills do not replace good shovel stats—they multiply time. A weak shovel with a drill still underperforms a strong shovel plus a drill on the same patch.
Vehicles: travel, dig help, and pollution
Vehicles speed travel across the winter map and can assist digging. Critically, they can pollute snow, creating a mutation path you will not always see from manual digs alone. Use vehicles when you are hunting Polluted rolls or when you need to cross large construction and ice areas quickly. Remember that vehicles persist through rebirth-style progression in community reports, which makes them a long-term investment once your early shovel and blessing kit is solid.
Snow types: sidewalk, road, construction, ice
Not all snow is equal. Quest text and coin efficiency both depend on knowing the difference.
Sidewalk snow is the beginner highway. Scarp and Grandma tasks often reference sidewalk clears and sidewalk item finds. It is usually the safest place to learn selling cadence and inventory discipline.
Road snow scales the loop with denser clears and different item tables. Lumber-related objectives may ask for large road snow counts. Use road patches when sidewalk farming feels saturated and you need bulk progress.
Construction snow ties heavily to Tired Tim. Expect volume objectives (community runs often mention large construction clears) and ladder hunting around the worksite and wider map. Construction zones are where drills and stronger shovels start to feel mandatory.
Ice snow is high risk and high fantasy. This is where legendary chase pieces such as Thor’s Hammer (~1 in 25,000 style rarity in community reports) show up. Ice also pairs with Frozen-oriented play and colder relic bonuses. Do not plant your entire early economy on ice luck—graduate here after sidewalk and road income is stable.
Moving between snow types on purpose is the difference between “clicking forever” and completing quests on schedule.
Session template you can reuse
- Redeem new codes if any dropped.
- Check weather: Rain, Thunder, clear, or night Starfall.
- Place or move drills to match the weather plan.
- Dig the snow type your active quest needs.
- Sell trash; protect quest items.
- Spend coins on shovel, blessing, drill, or relic progress.
- Talk to NPCs before logging off so hand-ins are not forgotten.
How this ties to the rest of the wiki
Onboarding details and the first-hour buy order live in Getting Started. Mutation multipliers and weather windows are expanded in Mutations and Weather. NPC order, Secret Agent crane access, Lumber Shovel, and Farmer Lost Shovel orb tips are in Quests. Use this How to Play page whenever the UI or snow types feel confusing—then jump back to the specialized guides for advanced goals.
Master the click, respect inventory, match snow to quests, and let shops, drills, and vehicles amplify a loop you already understand. That is how to play Shovel It with intent.
Frequently Asked Questions
Quick answers to the most common questions.
How do you shovel in Shovel It?
Click or tap snow to dig. There is no complex combat input—position yourself, clear tiles, collect items, then sell junk for upgrades.
What are the main snow types?
Sidewalk, road, construction, and ice. Quests and item tables differ by type, so dig the snow your current objective names.
What do drills do?
Drills are placeable tools that dig while you quest or go AFK. Put them on valuable snow and move them when weather changes.
Why use vehicles if I already have a shovel?
Vehicles improve travel and dig coverage, and they can pollute snow to help create Polluted mutations. Buy them after core shovel and blessing upgrades.
Where should I learn mutations next?
Open the Mutations and Weather guide for Wet, Frozen, Graced, Raged, Bloodlit, Polluted, Toxic, and how Rain, Thunder, and Starfall change digs.